Archive for the ‘3D Stuffs’ Category
Trains, nipple rings and blindfolds
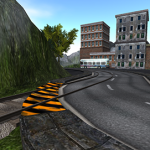
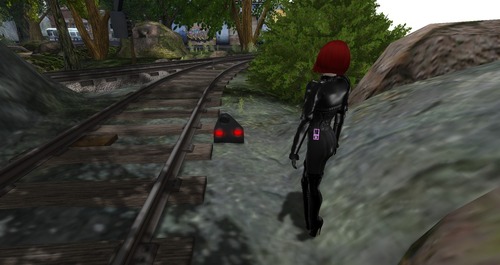
I will try to keep this brief. I rebuilt the train signals over the weekend and added dwarf signals to the Dead Realm railway.
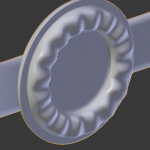
I also pushed a small update to the KDC Nipple rings: First, a simple code patch and second, you should now get a second set called “light” that only have the captive bead/RLV locking, no chaining, padlocking or accessories. You will receive both either ways.
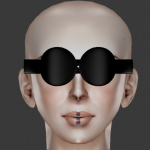
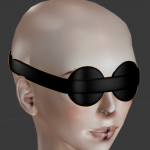
Next: I started working on a blindfold project that will be part of a small set of items I’ve wanted to create for a little while. I’ve settled for a “disc type” of blindfold, I can still change my mind if I end up hating it. So far… it does look like a really terrible attempt at sunglasses, but it will get better (I hope)!
Things over the weekend.
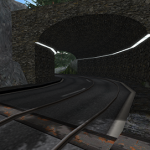
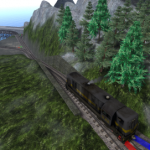
I started the remodeling of dead realm! I built the track models and worked some more on a house during the week. I finally gave in and nuked the sandbox from orbit ( It’s still there, but in a much abbreviated form). About a third to half of the track work is laid. There is a couple of steep grades but nothing I can really do about them. I wrote the switch code from scratch and it ‘should” be 100% SLRR compliant, there is a few rough spots i still need to deal with, mostly with the “spring back” train detectors being a little slow/blind.
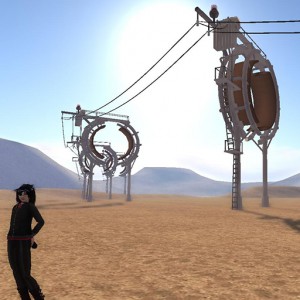
In the meantime, Shigeko has found some inspiration that had to be crystallized into a build…
Remotes and zappy animations
Been very busy again, ethernia.net is now ready for IPV6, I made some blueprints to eventually remodel the Dead Realm region (again!) And I had to move all the shock box code back into a separate script, because as I suspected: Out of memory! I got the shock effect pretty much like I wanted, the screen scramble as you get shocked, you are also prevented to move for the duration of the shock and there is a rather… discrete animation playing along with appropriate sound effects and a little bit of light.
And i just noticed that I forgot to put the facial expression.
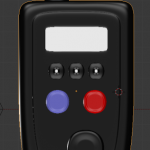
I can see the end of the tunnel! I also started a quick model for the remote, something really simple…
I should be finished either today or tomorrow.
Model completed!
Yes, finally 🙂
I should have posted Monday for some progress but I forgot… also on Tuesday. Today’s update will be a little picture heavy, all the textures are done, I also managed to squeeze in some extra texture optimization. Script wise, the HUD is done, the basic TB scripting is functional and I have “some” shock box specific scripting done. It’s getting there, it’s getting there…
The … great unwrapping?
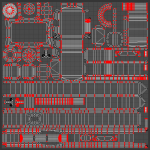
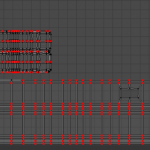
I’m running out of ideas for catchy titles, can you tell? 😀 . Good progress today, the low polygon model is fully unwrapped and tightly packed on a single texture sheet.
Which means it’s texturing time 🙂
The great merge
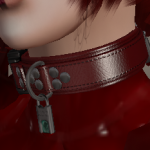
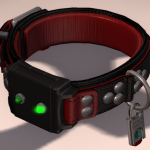
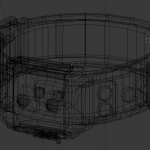
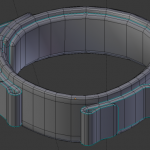
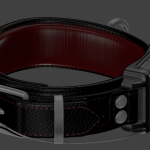
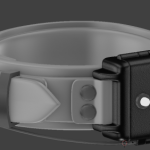
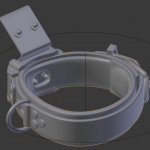
For some reason I’m second guessing myself constantly these days. I completely fused the collar and the shock box, simplified a bunch of areas where they meet (maybe too much…) it STILL weight 4898 triangles for some reason, and frankly, I do not see anything that i can safely remove anymore. I will blame the fact that it’s a complicated model with moving parts and internal elements.
I could probably have gotten away with a less aggressive polygon reduction, I can still change my mind and go back to an earlier version obviously.
Low polygon work and more materials
I should have posted this yesterday, but thursday became friday before I noticed it…
Because I’m clearly the kind of person to follow my own advice, I spent more time on material tweaking, and stumbled for a while on an issue involving the value to normal filter not quite behaving as I thought it would. I also made the low polygon model for the “collar part” of this project, it is hovering around 2000 triangles which is probably way too much but I haven’t reached a point where I am going to care about optimisation too much… yet.
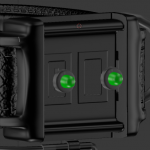
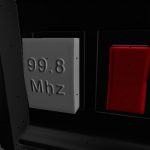
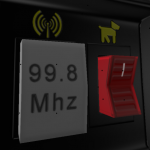
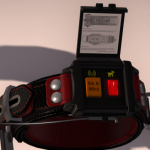
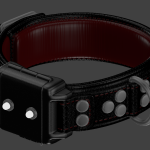
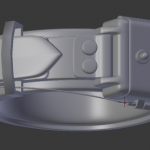
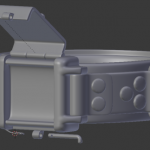
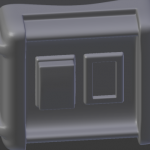
The shockbox is more or less the last part of the high poly model that I really need to finish at this point. The reason I was pushing it for later was that I was not completely sure of what should be inside it, what would look good and be easy to identify as the frequency crystal on one side and the on/off switch for the bark feature on the other… I’m still drawing a blank on that one.
Matching the existing products is going to suck…
Quite a bit of work done the past two days. Even if you consider that I did a major fuck up Monday and basically saved over 2 hours of work by accident…
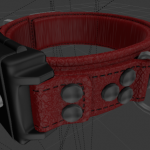
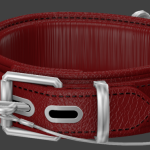
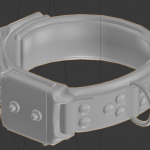
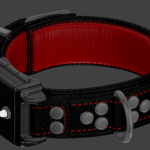
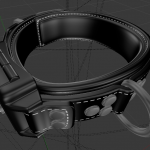
The creasing function in blender allowed me to cleanup my models instead of having multiple edge loops to create hard edges, I fixed a small issue on one of the belts and added a ridge that follow the border of the collar, like I’ve done on the classic leather cuffs. I have all the stitching done and it looks just right I believe and also got some early materials done. Sadly it doesn’t look anything like the existing products, but color/material matching will have to wait until the low polygon model is complete.
UV and Texture work in progress.
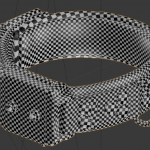
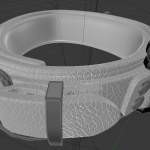
The “HD” model is more or less done so I began the tedious task of unwrapping the parts that require it, that means the steel cable (to insert an helical pattern along its surface, you know… twisted steel wire.) and all the leather parts. I don’t think the plastic parts will need actual UV coordinates as they will only receive a basic matte finish. Metal parts don’t need UVs as my metal material doesn’t use them.
The leather parts on the other hand need a full unwrapping to allow me to texture them properly.
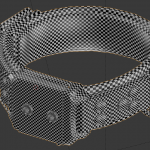
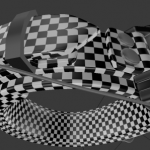
For those interested, this awful checker texture on the collar is commonly used to check for distortion during the unwrapping process. Long story short: you want the checker tiles to look as straight as possible.
Lid, locking cable and other tidbits
More goodies! I’m not really sure about that cable tho…
Inside the box when the lid is open will be the radio crystal slot and the bark on/off switch. I’m almost done with the High resolution model. Texturing soon!
