The 10Gauge silver genital ring is out!

A quick release for once! The genital ring adds a couple more bondage poses to the system, namely wrists to genitals and another stooped stance when chained to a collar ring. It uses the “pelvis” LockMeister anchor target, and won’t conflict with any existing item.
As with the other piercings, it uses the captive bead system and the Piercing Tool and supports all the typical TouchBound accessories & standard locks. And as with the other piercings, it also comes in a “light” version for those that only want the base features/interactions.
As usual, you can get it from the KDC Main Store (10% off in-world), or from the SecondLife Marketplace.
Enjoy!
Yup it is update time again…
Once again, I’m focusing on the “Lined Chrome” set so that if new problems crop up, I don’t have to patch three dozen products a second time.
Products being updated:
- Lined Chrome collar.
- Lined Chrome wrist cuffs.
- Lined Chrome elbow cuffs.
- Lined Chrome thigh cuffs.
What is new?
- The suspension reservation bits did not include all the required limbs, now it locks all spine affecting poses (specifically stooped poses).
- Some suspensions also did not lock the right bits between the left & right side, preventing some compatible poses to be played together.
- Likewise, some elbow poses locked the wrong bits, again, preventing the use of some compatible poses.
- Wrist & spine poses for the (coming soon) genital piercings.
And that is all for today ~
Working on some genital piercings…
I’m not sure how to make a tasteful picture of this 😀
Long story short, trying to adapt my current piercings to be used genitally. I know some people already do that “unofficially” but those will have the proper LM identifier and wrist binding animations. I have a working prototype for the “silver ring” style, still trying to get the U shackle style to look “right” for this, it might or might not in the end.
Another year complete
A big thank you to everyone who showed up for my Rez-Day party and no worries to those who couldn’t, that’s okay.
I’m absolutely exhausted (7 HOURS?!).
Let’s have another one next year right?
Kyrah’s 18th Rez-Day Party!
As has been the tradition for the past couple of years, I am organizing a little Rez-Day party to celebrate 18 years enduring Second Life.
- Who? Everyone!
- Theme? Loosely summer themed, but this is merely a suggestion.
- When? Saturday, June 4th 2022 at 11:00am SLT.
- Where? The Dead Realm pier & party boat.
Lined Chrome Thigh Bands update!
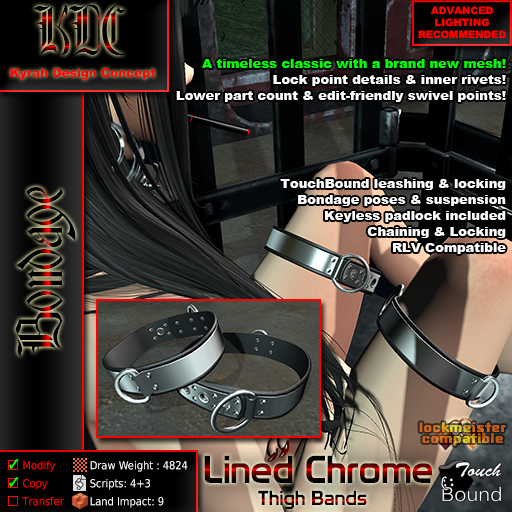
(I really like how the new product picture came together)
This update to the lined chrome thigh bands finally brings the remake of the lined chrome serie to a close!
New optimized meshs, suspension poses, better click zones, sit-lock, and other bug fixes.
As usual, these will be delivered through the auto-updater, but if you don’t have it yet, you can get it from the KDC Main Store (10% off) or from the SecondLife Marketplace.
KDC Industrial Pipe Kit update!
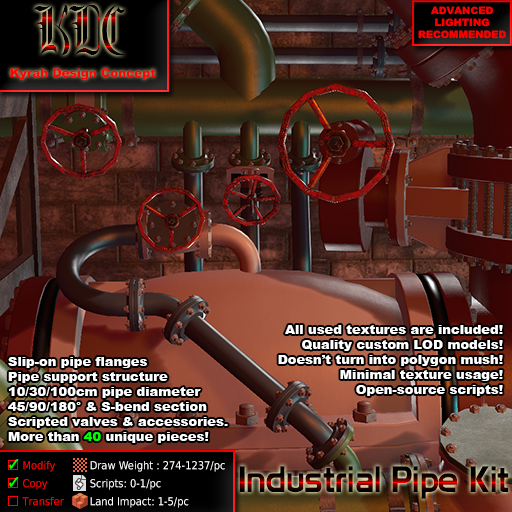
Just a few more parts, right?
It isn’t on the updater because I’m not very smart, so I’ve issued a global re-delivery for marketplace buyers.
For those who bought it in-world, you should message me to get an updated package.
More pipe work

- 3x parallel pipes, straight sections spaced for 1 m, 30 cm and 10 cm pipe flanges.
- 3x parallel pipes, with a 90° curve spaced for 1 m, 30 cm and 10 cm pipe flanges.
- 2x parallel in straight & curved versions.
I still need to get everything clean and packaged up, that’s for tomorrow.
I also prepped the thigh cuffs and updated their code, they are pretty much ready, save for those extra animations.
Thigh Bands WIP
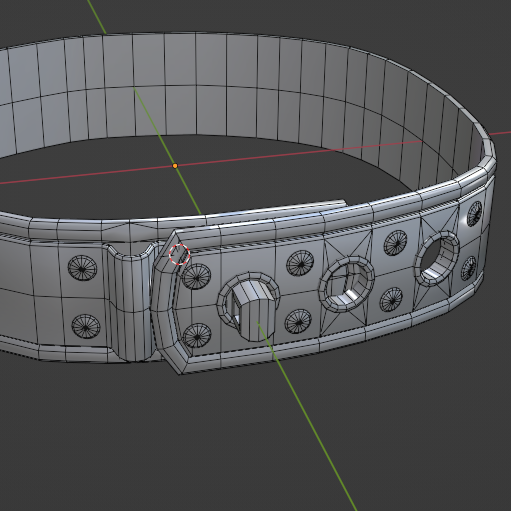
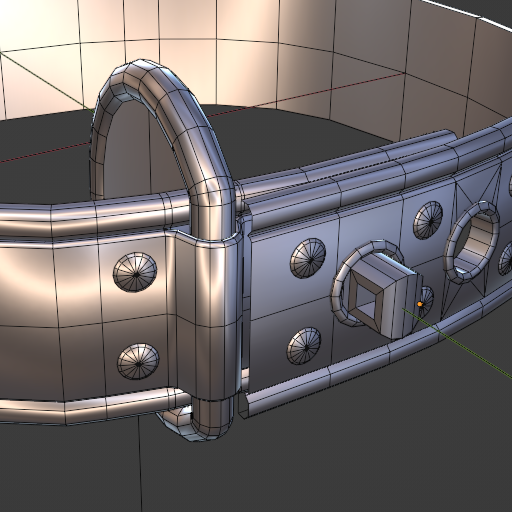

Here is a little update on the thigh bands WIP. I couldn’t get much done last week & the weekend was pretty busy, so that’s why I didn’t post a lot. I think I’m done with the new thigh band model, LODs included. Furthermore, I still need to make a proper suspension pose set (finally?) before I can push this update into the wild.
Lined Chrome Ankle Cuffs update!
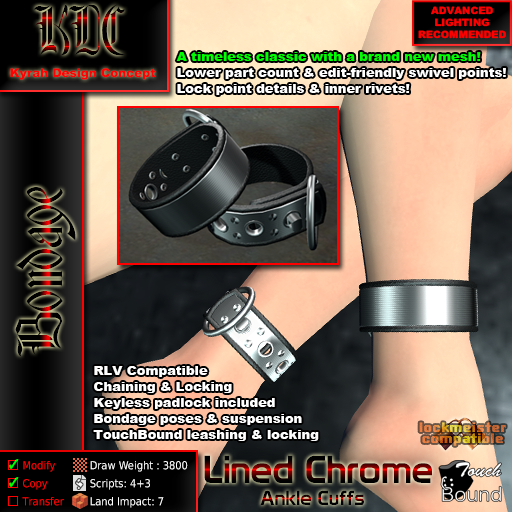
I ran out of ideas on how to make these announcements interesting! It is update time for the lined chrome ankle cuffs, yes!
I keep running into timing issues with this update cycle and I keep missing the weekly schedule I was trying to self-impose… As a way to keep things moving quickly and to eventually get to a proper new project.
Granted this month has been plagued with various real life events eating into my timetable… (Yes, let’s use that excuse once more).
As usual, these will be delivered through the auto-updater, but if you don’t have it yet, you can get it from the KDC Main Store (10% off) or from the SecondLife Marketplace.


